How to Split the Philips Hue Lightstrip Plus
Having the ability to split the Philips Hue Lightstrip Plus comes in handy in many situations, especially when you’re adding in over and under cabinet lighting. Using our Splitter for the Philips Hue Lightstrip Plus is the easiest way to accomplish this.
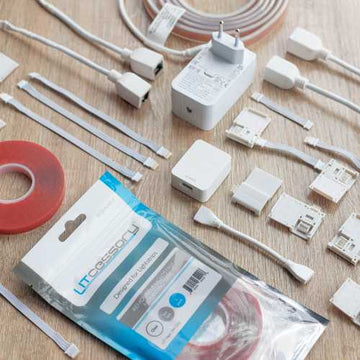
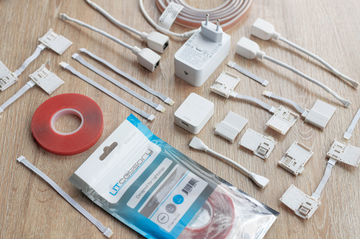
The Litcessory Splitter allows for a single run of lightstrips to be split into two or more runs. This cable is flexible and flat, allowing it to be inconspicuous.
There are many different possible applications of the splitter. One of the most common questions we get is, “How do I split my Philips Hue Lightstrip between the controller and the lightstrip?” This actually requires two products: Our Controller to 6-Pin Adapter (hardwired or detachable)and a Splitter.
First, you will need to identify which version of the Philips Hue Controller you have, so you can select the correct Controller to 6-Pin Adapter.

Once you have the correct version Controller to 6-pin Adapter, we can begin splitting the lightstrip between the Philips Hue Controller and the Starter Lightstrip. Before you do anything, ensure that your lightstrips are not plugged into a power outlet!
First, you will need to remove the starter lightstrip from the controller. For the detachable version, you can simply unplug the lightstrip from the controller.
If you have the hardwired controller, you will need to cut the rounded hardwire midway between the controller and the starter lightstrip, exposing the colored wires inside, about half an inch.

Then you will need to insert each wire into the matching colored connector on the Controller to 6-Pin Adapter (Hardwired version).

Finally, make sure to snap down each connector fully to ensure it locks the wire into place.

Once you have your Controller to 6-Pin Adapter (either hardwired or detachable) connected to your controller, you can now plug the single male end splitter into female connector on the Controller to 6-Pin Adapter.

This leaves you with two female 6-pin connectors to work with! In this example, we decided to reconnect the Starter lightstrip to the top connector on the splitter. To do this, you first need to plug in your second Controller to 6-Pin Adapter (they come in packs of two), and then you can reconnect the Starter Lightstrip.

Finally, we completed out first setup example by connecting a Philips Hue Extension Lightstrip to the bottom splitter connector.

That’s it! You’ve completed your first split. This setup is perfect for over and under cabinet lighting. One lightstrip run can be routed to the top of the cabinets while the other lightstrip can be seated underneath your cabinets.
If you need to create more than one split, you can do so by connecting multiple splitters together. This is a great method for adding Philips Hue Lightstrips to stair steps. To create three lightstrip runs, simply connect another splitter. If you need another run, add another splitter. You can split as many times as you’d like.
The only limitation is the 33 foot rule. As long as the total length of all Litcessory cables and Philips Hue Lightstrips connected to a single controller is under 33 feet, you won’t affect your light’s brightness or functionality. If you venture over 33 total feet you may start to experience some issues.